Daycare De-Escalation
Stop toddler temper tantrums before they spiral out of control.




Audience
Daycare classroom employees that directly interact with toddlers between ages 2 and 5.
Responsibilities
Tools Used
Instructional Design, Needs Analysis, Storyboarding, Visual Design, Mockups, eLearning Development
Articulate Storyline 360, Adobe Illustrator, Figma, Microsoft Word
Problem
Solution
Incident reports have been steadily increasing at the community daycare. One of the number one reasons is due to the toddlers' temper tantrums. During a meltdown the kids have been acting out causing harm to others or themselves.
After meeting with the stakeholders I concluded that the main problem is related to how the daycare providers are responding to the temper tantrums. While temper tantrums are developmentally normal, it's important to help the kids calm down and then issue a consequence or redirect their behavior. The Mirror and Match technique is introduced now to give the providers the tools they need to de-escalate temper tantrums.
My Process
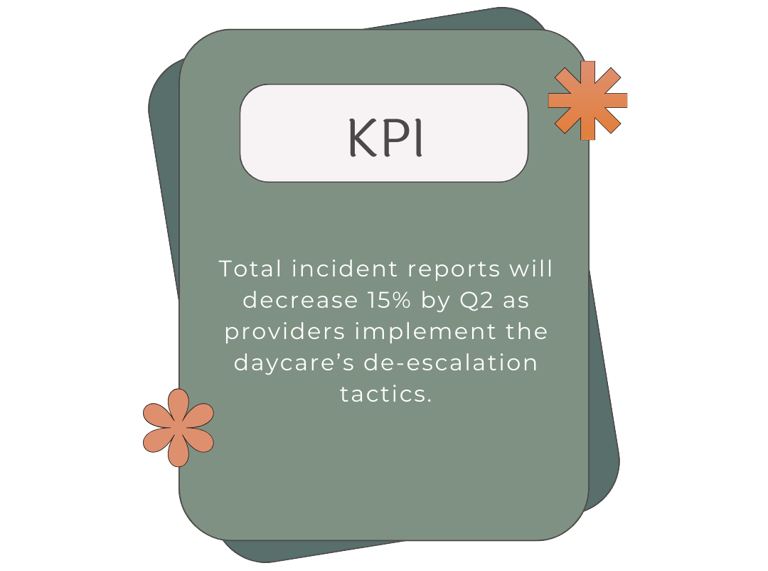
Following the ADDIE model, I started by identifying the key performance indicator:
Before fully developing the experience, my process included action mapping, storyboarding, visual mockups and prototyping. I continued to circle back to each step as needed. Iteration was key in developing the project in collaboration with the SME until we were both confident in the learning experience.

Action Mapping
I worked with an SME who has over a decade of experience working with young kids and a bachelor’s degree in early childhood education. Together we developed a measurable performance goal for the learning experience.
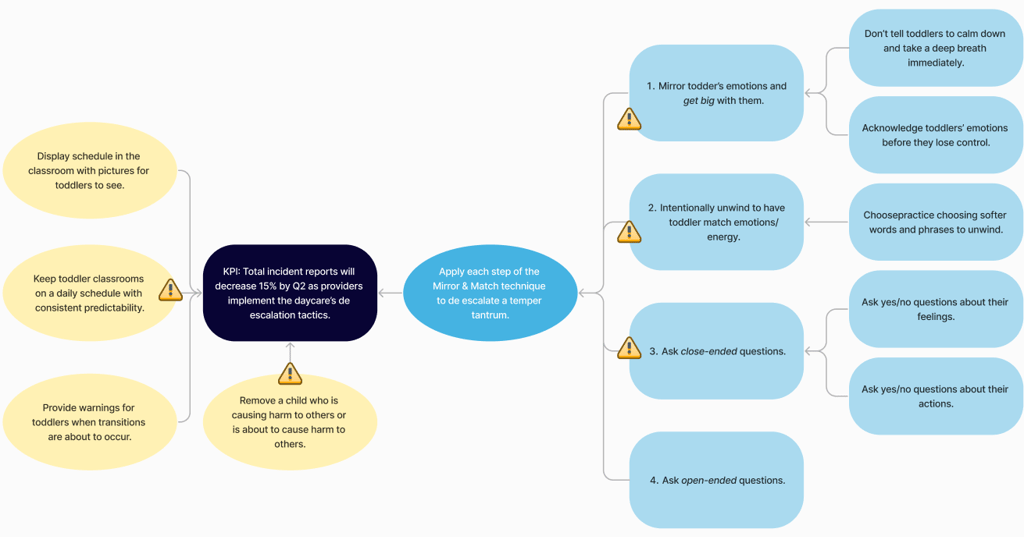
From here the SME identified several actions classroom employees needed to do to reach that goal. With this being a broader project, we decided to focus specifically on the Mirror and Match technique with future learning experiences or modules to address the other 2 actions shown in yellow below. The Mirror and Match technique is a tool used across many business platforms and has been integrated into childcare settings and child behavior psychology.
This action map was drawn out on Figma using their diagram feature on the whiteboard tool. The collaborative features of Figma made it easy to work with the SME who is based in another state from me.

Storyboarding
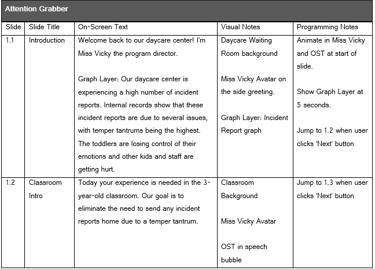
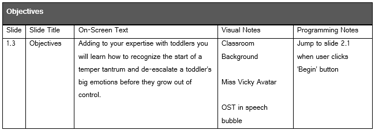
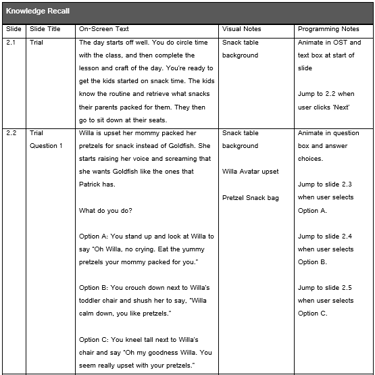
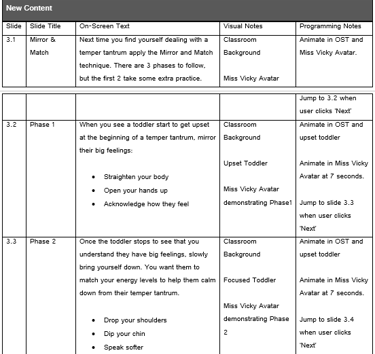
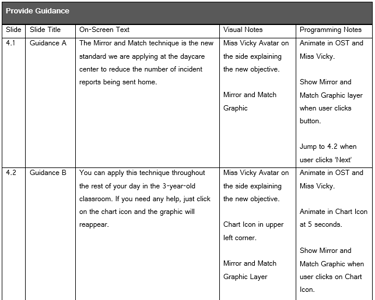
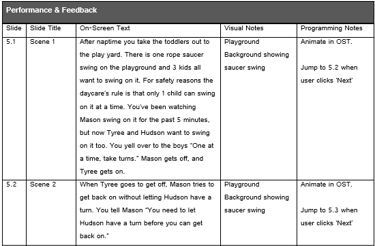
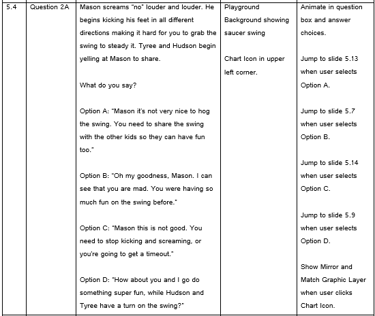
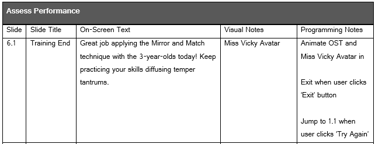
I created a template in Microsoft Word for my own projects based off Gagne’s 9 Events of Instruction. This helped me to plan my learning experience so that each question and scenario is intentional and meaningful.
There are opportunities for learners to bypass new information if they show proficiency in the knowledge recall practice scenario, but they still can access the information in a job aid if they need help during the main performance or challenge activity. With the branching scenarios it was crucial to ensure the experience was mapped out so that all learners would have the information needed even if they differentiated along their path. This document was continuously edited as I iterated on the experience and the character emotions.







Visual Mockups
Before jumping into the eLearning design, I created a style guide and a set of wireframes in Figma to base the prototype design off. I used background images and character vectors from FreePik that complemented each other.
Settling on a program director and 2 different toddlers, I then had to edit each of the characters in Adobe Illustrator to give them different emotions and poses that matched their language and expressions in the scenario. This was challenging to learn, but I found my background in 3D solid design helpful in understanding the basics of the main functions.
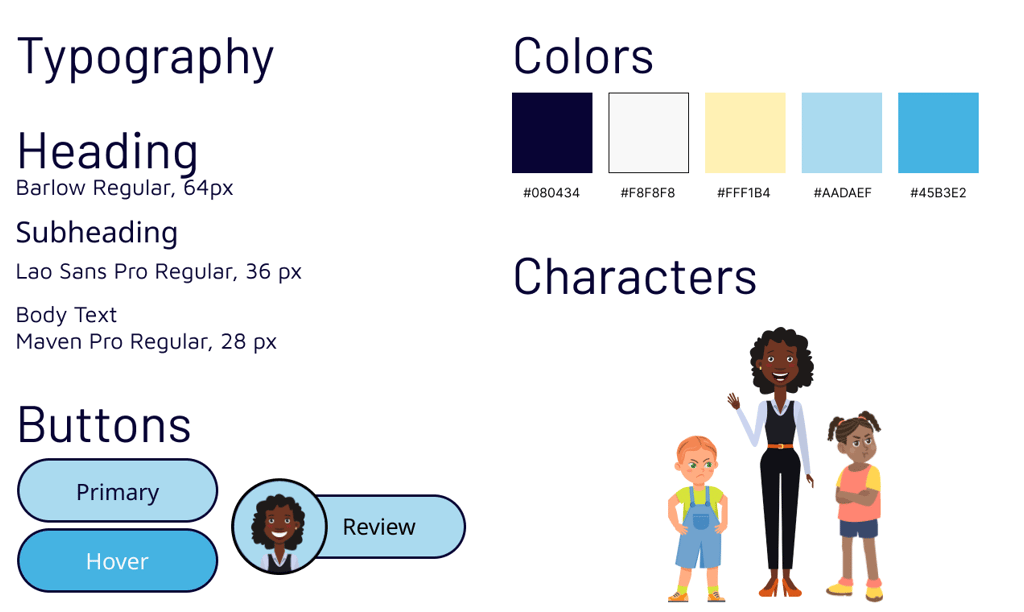

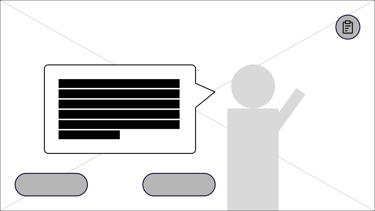
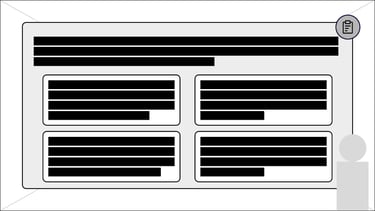
Upon completing the wireframes, I shared this step with the SME who envisioned more vectors in the design including props for the characters. While this was ultimately not included, I continued to iterate on the earlier steps to change the language, type, and character emotions to express what could not be included. Each iteration within this step led to a more learner friendly experience.
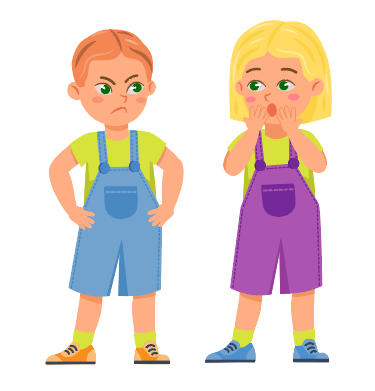






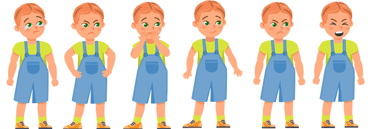

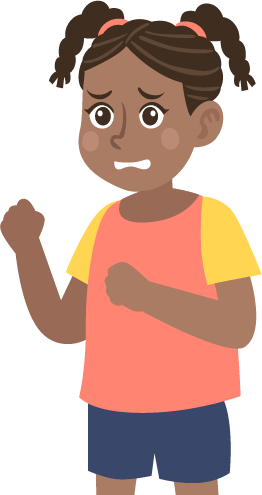
Mason's character required a more detailed makeover from the girl with blonde hair and purple overalls to a boy with red hair and blue overalls. Then he needed some additional facial expressions and arm positions to convey different reactions for multiple outcomes.
I built a prototype with Articulate Storyline 360 using the first 2 questions from the main scenario. This helped me to collect feedback on the design and functionality of the more detailed buttons and layers. Some of the feedback from stakeholders included changing some button placements to improve the user’s experience.
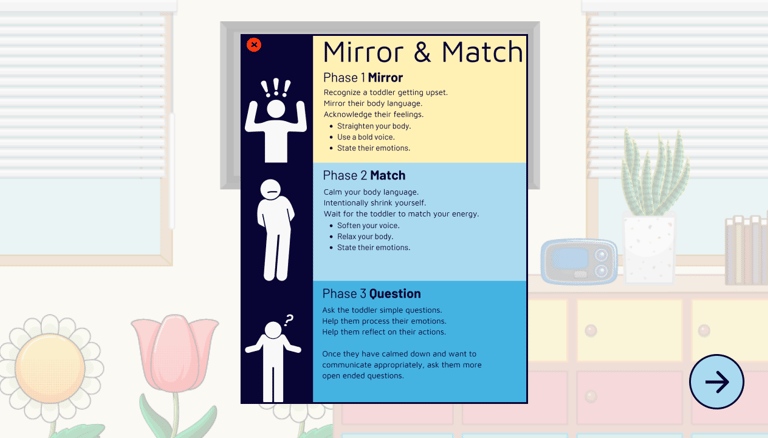

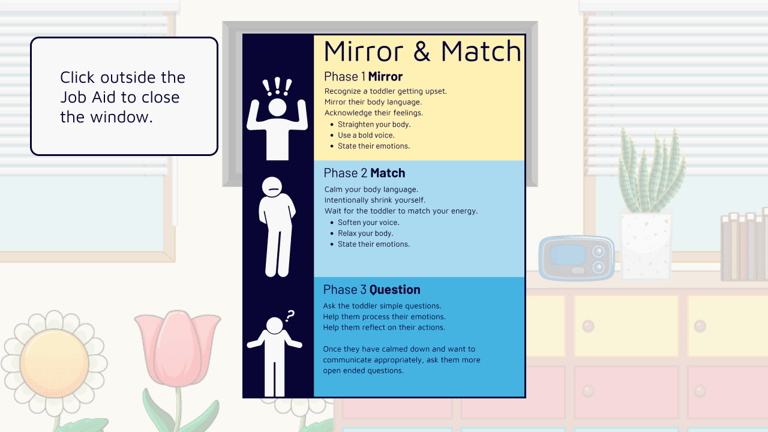

Instead of having users close the job aid using a small red button, I included one slide explaining to click the background. This is much easier for learners using a mobile device to use.
The prototype is an important step in my design process that I will continue to implement for the benefit of all stakeholders and designers.
Prototyping
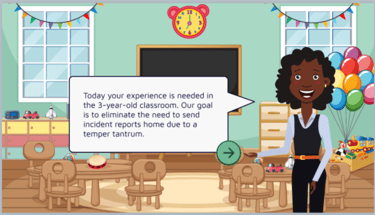
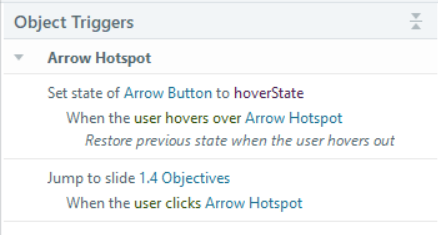
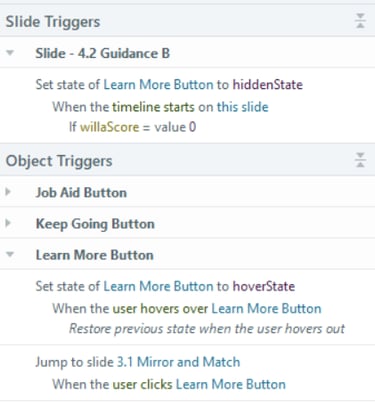
There also were some issues with mobile users being able to click on the arrow buttons to move to the next slide. I added hotspots over the buttons and incorporated them into the triggers to fix this issue.


Full Development
Once I felt confident that the prototype and storyboard were ready, I designed the rest of the course in Articulate Storyline 360. Thanks to the wireframes, the basic setup of each slide was rather simple.
Throughout the entire development I continued to iterate on the overall experience. I changed the original method of feedback and added more pointed differentiation for users who needed to go back and try again.
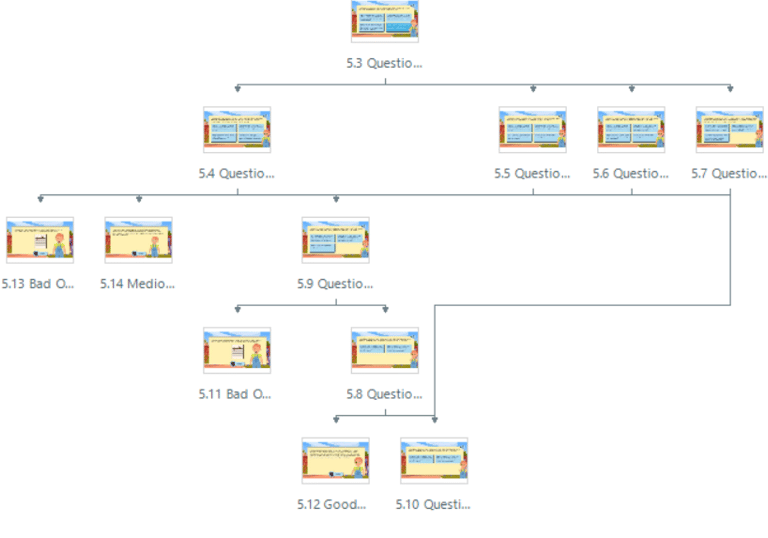
I wanted to make the learning unique to each user, so I created variables with conditions. If users work through the first scenario and receive a positive outcome, then they will go straight to the guidance section where the program director introduces them to the Mirror and Match job aid. Then they will begin the main learning challenge. If users come to a poor outcome in the first scenario, they will immediately be directed to several slides that explicitly teach them about the new Mirror and Match technique.

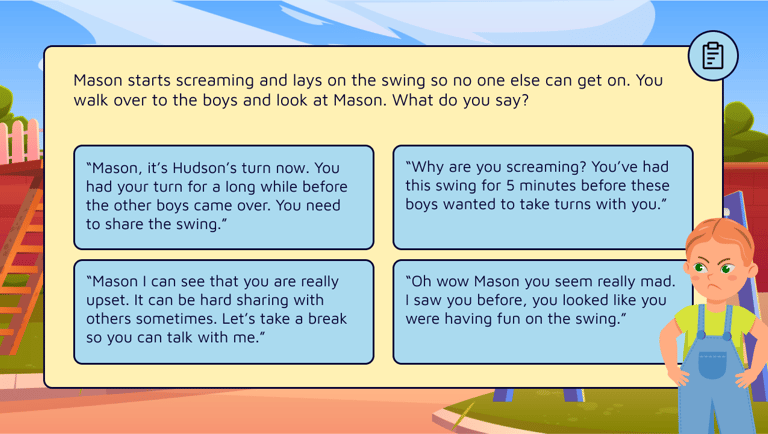



If there was an unlimited budget, I would have preferred to add animated video to have the program director demonstrate each step of the Mirror and Match technique. This would have been beneficial to show rather than describe. Instead, each toddler character was given reaction poses resulting from how the user chose to interact with them.
Part of the feedback is the result learners get from each choice they make. The situation either calms down or escalates even further. But with each set of choices they are given, there is always the ability to remedy the situation to receive the best possible outcome.
The program director provides feedback on their overall outcome at the end of the scenario. These results are either a positive outcome, where the temper tantrum ends on good terms, a mediocre outcome, or a bad outcome. There are 2 bad outcomes, both resulting in an incident report.
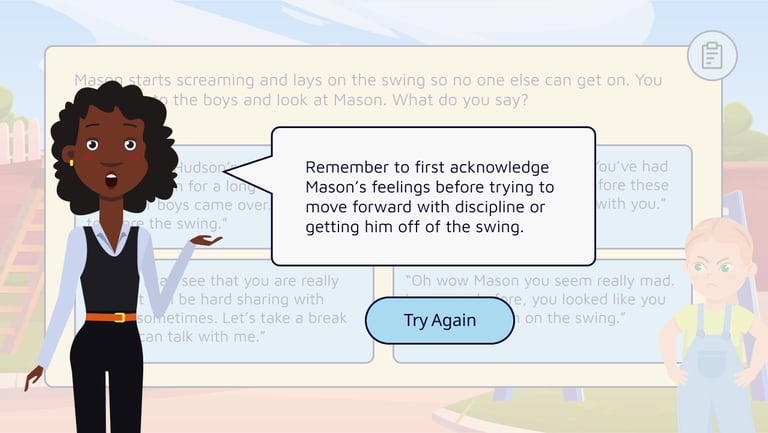
During the full development some of the feedback received was to create more pointed feedback, so that when learners get to the bad outcome, they can go back to the initial mistake instead of starting all the way from the beginning. I added a Miss Vicky layer that appears during the timeline to aid the learners when they revisit the scenario slide.
I also added background audio throughout the entire project, and incorporated audio for good choices and poor choices throughout the scenario. This is to help the learners realize they are heading down the wrong path, or have adjusted their strategy and are heading down a more productive path. I also added audio to go along with the slides that have an incident report appear.
